Making basic soap lather
Building lather in a bowl
I'll try to keep it simple. Bowl could be anything where you can whip the lather, old soap mug, bowl, latte cup etc. Mine has bought from flea market for 2€. It's fun to try a different sizes and shapes and I'm sure you can find one to suits you best.
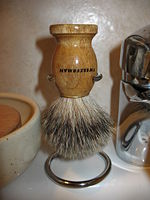
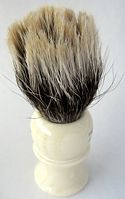
Brush is Tweezerman badger brush which is in my opinion a very good starter brush. It's cheap ($13) and works well with soaps. I really like this brush and I can honestly say that it is good value for money. When I get a new brush and before the first use I wash the brush using a normal shampoo and hair conditioner same way like I do with my hair. It softens the bristles a little bit and brush starts to work better.
Soap is Kent luxury shaving soap ( same soap as Mitchell wool fat, MWF). Good starter soap and quite inexpensive too. Not as cheap as Williams but much better quality. Mild clean scented and pretty easy to lather up.
N.B. If you have a hard water or other difficulties to get a proper lather with soap I suggest you to try a direct face lathering too. It gives sometimes better load of soap straight to the face and brings much thicker and rich lather. After step 7 rinse your face and go straight to the face instead of bowl.
- The Tutorial step by step
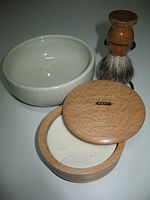
1. Here is my inexpensive version just to show that you don't need a huge amount of expensive equipment to make a decent lather.

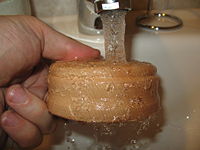
2. Before I start I drop a little warm water on the soap. It helps to soften the surface and let the bristles enter the soap easier.
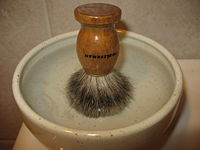
3. Fill the bowl full of tap hot water. No need to use a boiling water because it could harm your brush. I like to stand the brush in to water instead of throwing it in. This saves the wooden handle when it doesn't soak in the hot water. Soak the bristles 5 minutes or more to get the proper absorbation of water. Now it's great time to take a shower.
4. Give a good squeeze to your brush just to get rid of the worthless dripping water. I like to adjust the amount of water later with the bowl.

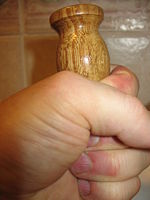
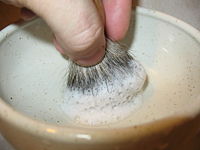
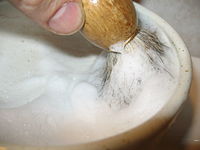
5. Take a three fingers grip to the brush to prevent bristles from spreading out and start to whip the soap.

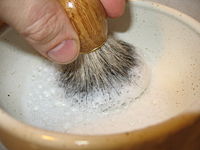
6. After a few swirls
7. Little more swirling and all the time keeping the three fingers grip.
8. Leave a little bit of soaking water in the bowl and start to swirl. The right amount of water depends how much lather you want. You learn the proper mixture of water and soap pretty quickly.
9. After a few swirls
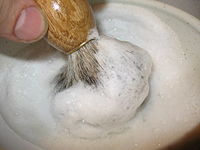
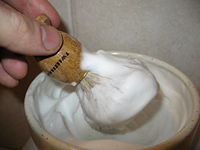
10. Lather starts to appear
11. Keep on going
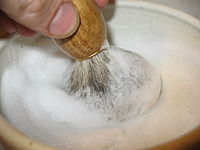
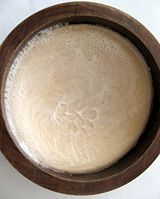
12. Sweep the edges and gather all in the center.
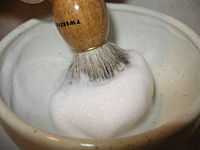
13. Looks good already but we need more. If you had too much water in the bowl or in the bristles the lather is quite airy and bubbly now or too thin.

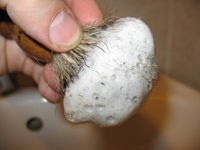
14. Take the soap bowl again and whip the soap to get more on the bristles.
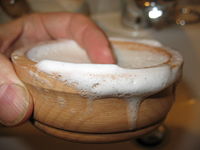
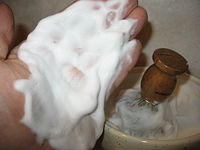
15. Normally after second time I don't need soap anymore and I clean it up. Put your forefinger on the soap.
16. Turn it upside down
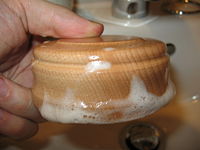
17. Wash the wooden bowl
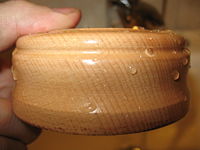
18. Still keep it upside down for a while to let all water drip down. Dry the bowl and top edges with towel to prevent wearing.
19. Repeat the swirling again
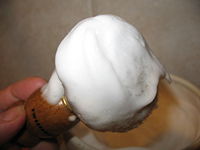
20. Looks good again and now it's plenty of lather.
21. Don't want to show my ugly face
22. At last I rinse the brush squeeze & shake it strongly and let it dry out upside down.


TonyJ 14:45, 18 January 2009 (UTC)
Building lather directly on face
This illustrates how I build lather directly on my face. The actual results are dependent on the quality of brush, the properties of the soap and the hardness of water. I find that all soaps that I use work essentially the same with my brush. Loading the brush takes me 7-15 seconds and creating the lather on my face seems to average 40 seconds, although I may occasionally go for over a minute just because I like masagging my face.
Equipment
- Brush: Rooney Finest model 3, size 1
- Soaps: Thegentlemensquarter, Truefitt and Hill's luxury shaving soap, Crabtree and Evelyn's Sandalwood Soap.
- Tap water: my hot water is about 50-55C or 120-130F
In the image tutorial below I will use the Crabtree and Evelyn's soap, which is the one I found hardest to lather when I was just starting.
- The Tutorial step by step
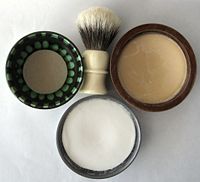
1. The three easy to get soaps I use most often and my daily brush. Before I start lathering I leave the wet (excess water shaken off) brush for few minutes on top of the soap so the soap surfaces look like they do on this picture.
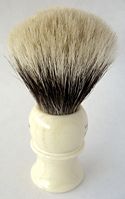
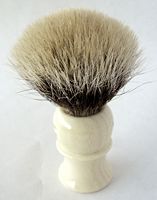
2. The dry brush looks like this.
3. The brush ready for loading with soap. It has been run under hot water, left for 2-3 minutes and gently shaken off.
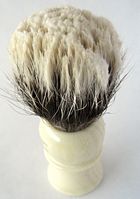
4. The brush after being swirled on top of the soap for 10 seconds, no mushing, just letting the tips be in contact with the soap. This is the look of my loaded brush with any soap I'm using.
5. The soap has a light paste/foam on its surface, but not lather.
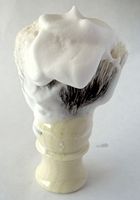
6. After 40 seconds swirling the brush over my wet face this is what the brush looks like. I do not press or mush the brush into the soap, list let tips touch the surface. At this point my face and wrist are covered in nice rich lather. Plenty of lather on the brush for 2-3 more passes.
7. The consistency of the lather on my wrist.
8. At the end I rinse the brush, gently squeeze the water from it and shake it vigorously. At this point I leave it standing to air-dry.


