Difference between revisions of "Restoring a Straight Razor"
m (categorizing) |
m (Text replacement - "http://straightrazorpalace.com" to "https://straightrazorpalace.com") |
||
| (13 intermediate revisions by 5 users not shown) | |||
| Line 1: | Line 1: | ||
| − | This article was originally posted on SRP<ref> | + | This article was originally posted on SRP<ref>https://straightrazorpalace.com/workshop/27902-start-finish-razor-restore.html</ref> by gssixgun<ref>https://straightrazorpalace.com/members/gssixgun.html</ref> |
== <font color=red>A Forewarning</font> == | == <font color=red>A Forewarning</font> == | ||
| Line 54: | Line 54: | ||
Image:Illustrated_Guide_to_Restoring_a_Straight_Razor_-_028.jpg | I drill the hole through the wedge this way, as it never misses but that your choice.... | Image:Illustrated_Guide_to_Restoring_a_Straight_Razor_-_028.jpg | I drill the hole through the wedge this way, as it never misses but that your choice.... | ||
Image:Illustrated_Guide_to_Restoring_a_Straight_Razor_-_029.jpg | Ok some pics didn't turn out, but needless to say all ya missed was a lot of sanding, the scales were taken apart and sanded, shaped, and thinned down.... | Image:Illustrated_Guide_to_Restoring_a_Straight_Razor_-_029.jpg | Ok some pics didn't turn out, but needless to say all ya missed was a lot of sanding, the scales were taken apart and sanded, shaped, and thinned down.... | ||
| − | Image:Illustrated_Guide_to_Restoring_a_Straight_Razor_-_030.jpg | Testing the fit and function here using adjustable pins.... | + | Image:Illustrated_Guide_to_Restoring_a_Straight_Razor_-_030.jpg | Testing the fit and function here using [[Adjustable Pins aka Microfasteners|adjustable pins]].... |
Image:Illustrated_Guide_to_Restoring_a_Straight_Razor_-_031.jpg | Look close here the wedge is hitting the razor, it needs some more fitting... | Image:Illustrated_Guide_to_Restoring_a_Straight_Razor_-_031.jpg | Look close here the wedge is hitting the razor, it needs some more fitting... | ||
Image:Illustrated_Guide_to_Restoring_a_Straight_Razor_-_032.jpg | Ahhhhhh there we go about 1/8 inch clearance and everything fits together the right way now.... | Image:Illustrated_Guide_to_Restoring_a_Straight_Razor_-_032.jpg | Ahhhhhh there we go about 1/8 inch clearance and everything fits together the right way now.... | ||
| Line 89: | Line 89: | ||
As to the wedge end ??? Yes the wedge is coated to as I do the outside, I do 3-5 coats depending on the finish I am using, this is for wood/bone wedges... | As to the wedge end ??? Yes the wedge is coated to as I do the outside, I do 3-5 coats depending on the finish I am using, this is for wood/bone wedges... | ||
| + | |||
| + | == Advanced scale repair == | ||
| + | Let's look at a slightly more advanced scale repair... Basics being Glue / Epoxy / Acetone / Fiberglass etc. Starting with a set of broken scales for a C-MON, these were actually broken at the pivot so this is my only option for the repair. To make this more difficult these scales have inlays and bolsters.<ref>gssixgun in https://straightrazorpalace.com/workshop/38599-scale-repair-201-slightly-more-advanced.html</ref> | ||
| + | <gallery widths="400px" heights="300px" perrow="2"> | ||
| + | File:gssixgun_Scale_Repair_201_-_or_slightly_more_advanced-sr1.jpg | First I look for an old scale that is close enough in size and curvature to work with... Never, ever, throw away old razor parts. After I find one that is close, I line up the scales and drill out the holes to match. | ||
| + | File:gssixgun_Scale_Repair_201_-_or_slightly_more_advanced-sr2.jpg | As you can see adjustable pins from Microfasteners come in very handy... After every thing is lined up and drilled out I sand and file the scales to fit these will need to be polished out also after all the fitting. | ||
| + | File:gssixgun_Scale_Repair_201_-_or_slightly_more_advanced-sr3.jpg | Hint: always shine up inlays and bolsters before removing from the old scales it is way easier and safer. | ||
| + | File:gssixgun_Scale_Repair_201_-_or_slightly_more_advanced-sr4.jpg | Using an acetone dip I pop loose the old bolsters and re-attach them to the new scale using some Med CA. After re-pinning and some minor fitting the scales are back on and as strong as new.... actually the one is new. | ||
| + | </gallery> | ||
== Notes == | == Notes == | ||
| − | <references/> | + | <references /> |
| − | |||
[[Category:Scale_Repair]] | [[Category:Scale_Repair]] | ||
Latest revision as of 10:36, 17 February 2018
This article was originally posted on SRP[1] by gssixgun[2]
Contents
A Forewarning[edit | edit source]
Spalting is a product of the decay process. Spalted woods display those patterns because of fungus eating its way through the grain lines. The sugars in the wood react with the fungi causing the various color patterns. Once dried, the fungus becomes dormant, not dead. If the fungal spores get wet, they may very well resume growth. This can happen in the wood, or it can happen in your respiratory system. It is always wise when sanding to wear some sort of filter mask or respirator. However, when sanding spalted wood, consider it a must. There have been documented cases of severe respiratory infections due to inhalation of fungal spores while sanding spalted woods.
Please refer to this chart for a list of toxic woods and the potential risks of working with them.
Background[edit | edit source]
This is a thread that I have been wanting to do for awhile, but these things take time, and half the time when I go out to the shop I forget the camera.... This restore I finally got pics of just about the whole process so I figured I would do a complete restore in pictures....
The Razor Used In This Tutorial[edit | edit source]
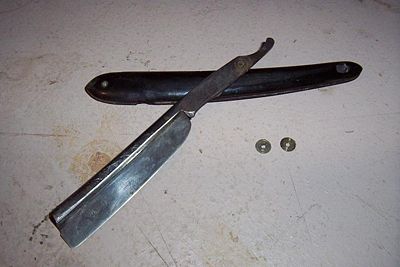
This is a C.W.Dahlgren Eskilstuna Medalier Chicago 1893 the proof marks show 1886, 1888, 1881, 1878 the frameback is stamped Sanvik Bessamer Stal.....
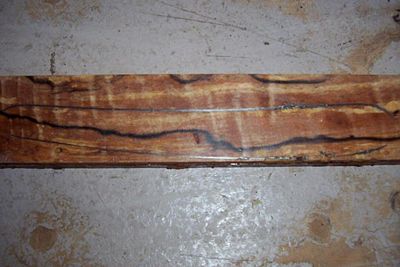
The scales are Spalted Apple, the wedge is Brown Ebony.... Nickel Silver pins and SS washers... This one has 15 coats of Satin Wipe on Poly for the finish...
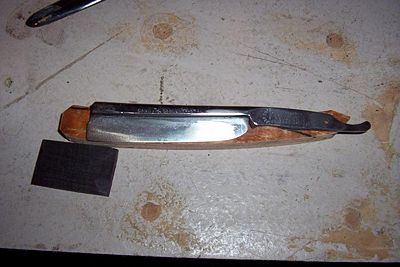
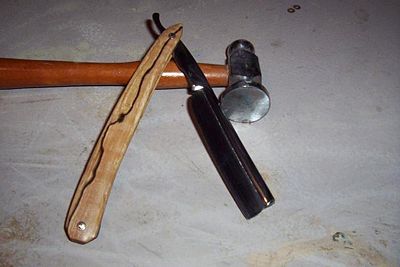
Starting out the razor has a very small touch of rust and some patina, the scales are shot...
The Process In Pictures[edit | edit source]
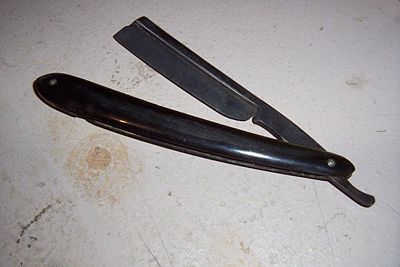
Starting out, the razor has a very small touch of rust and some patina, the scales are shot...
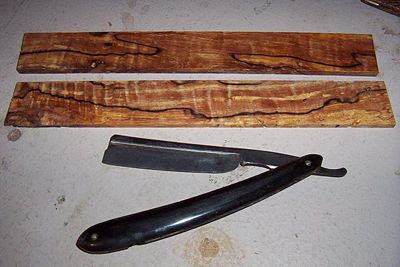
I have the wood cut at 3/16 thickness...
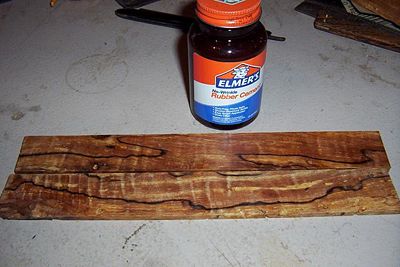
I put the wood together using rubber cement, make sure you leave the pattern that you want to show, to the outside...
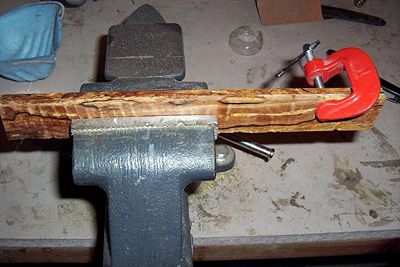
I usually leave the wood in the vise and clamped up overnight
The razor all broken down, save everything !!!! you might need it....
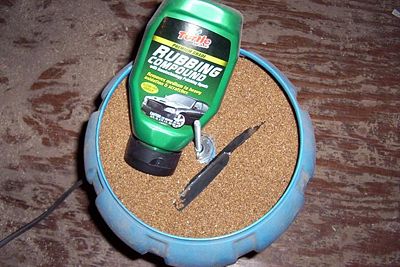
While I am working on the scales the blade will be spinning along, I use the Turtle Wax Rubbing compound in with the walnut media (re-fresh this about every 4 months) after 48 hours I will check the blade and use 800 grit sandpaper to take off any remaining spots and let it spin some more After that it will go through the same thing with Corncob media and Turtle Wax Polishing compound.... Keep in mind this will not take off rust or pitting....
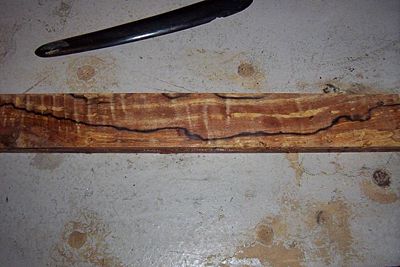
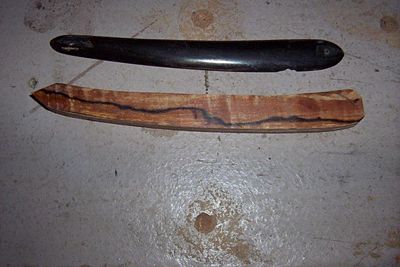
I use the old set of scales to get a rough idea of the size, and the curves I will need for the new scales
Note here, See how the scale is covering that veining on the wood ??? I want that to show in the new scales
You don't have to do this but it does give you a starting point...
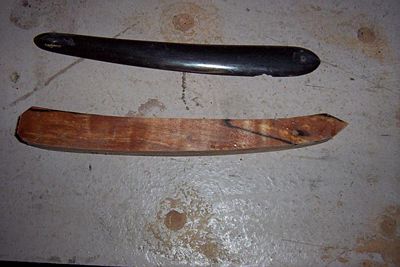
I rough cut the scales out of the blanks...
Leaving plenty of wood to play with shapes that I might want....
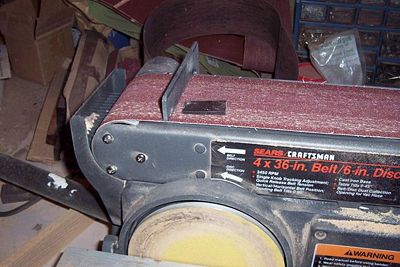
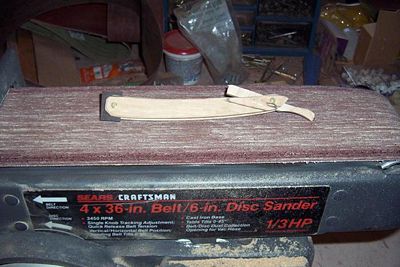
These rough cuts then move to a bench sander, and I work out the shape I want for the scales, freehand....
My rule on scale design in general.... Let the wood do the talking, fancy wood?? Simple scales.... Simple wood???? fancy scales......
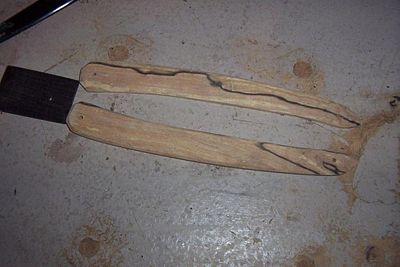
These are still oversized, but they are getting close to what I want now...
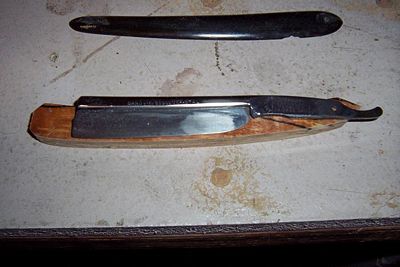
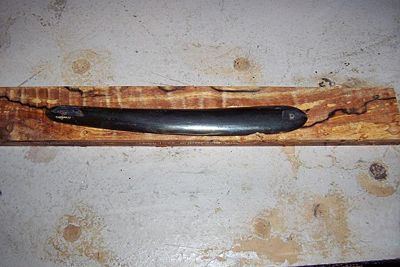
Just sizing out the razor to the scales...
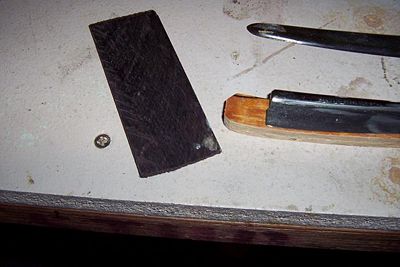
Deciding on the wedge...
Still deciding
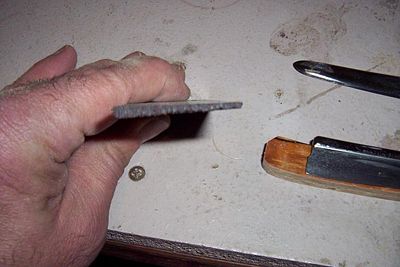
Sizing out the wedge
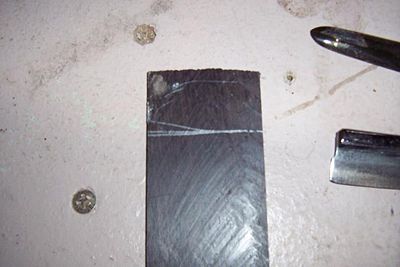
The wedge marked for cuts
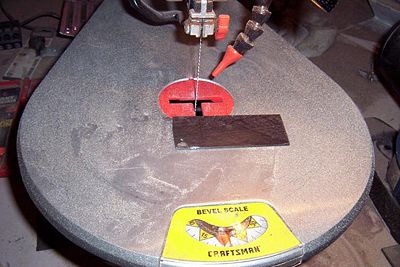
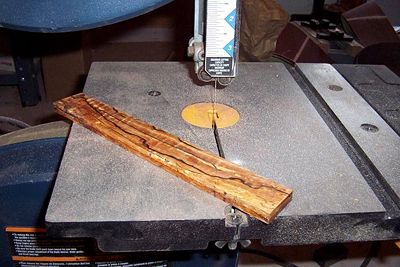
Scroll saws are a handy tool here
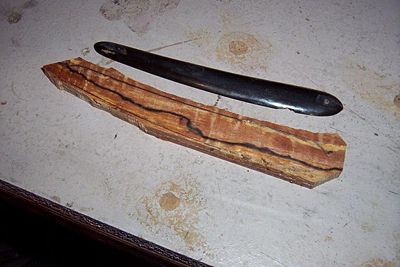
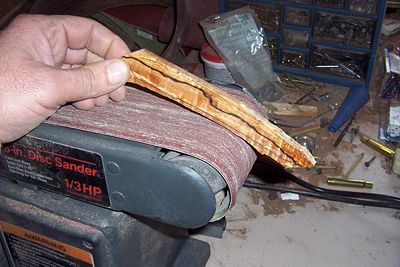
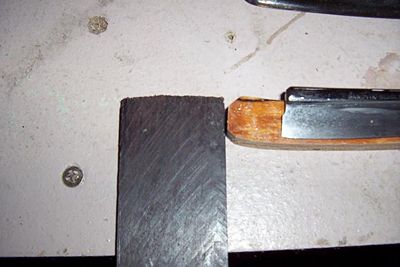
The wedge gets sized and sanded to the right angle...
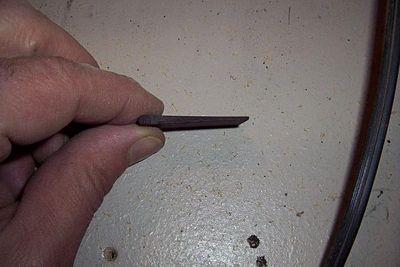
The wedge gets sized and sanded to the right angle...
The wedge gets sized and sanded to the right angle...
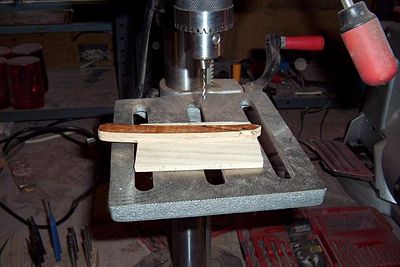
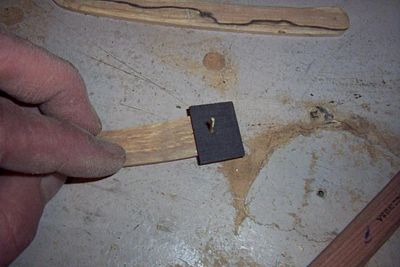
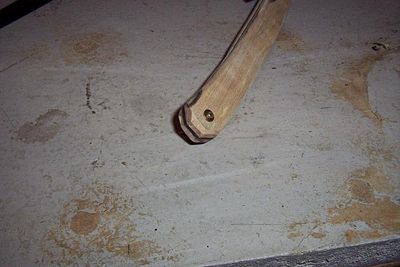
The moment of truth !!!!! when you drill the pivot hole, you ARE committed, so make sure you do it right.... If you mess up here it's back to the beginning....
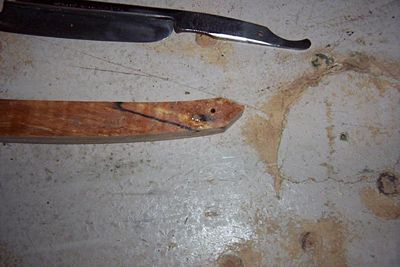
Freshly drilled pivot hole
Mark the razor swing angle so you know where the wedge is going to fit in, and where the wedge hole goes....
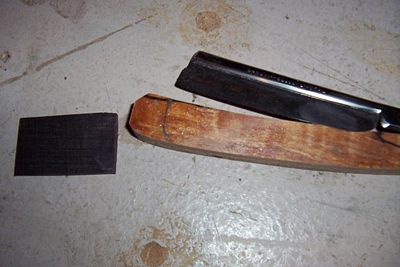
I have already drilled the wedge hole in the scales
I drill the hole through the wedge this way, as it never misses but that your choice....
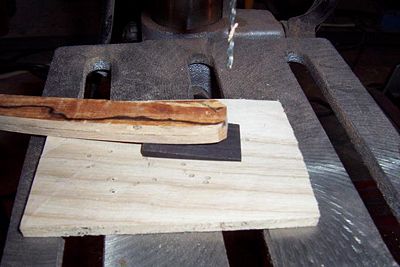
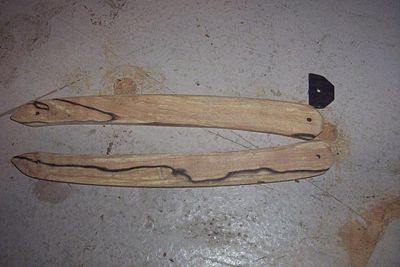
Ok some pics didn't turn out, but needless to say all ya missed was a lot of sanding, the scales were taken apart and sanded, shaped, and thinned down....
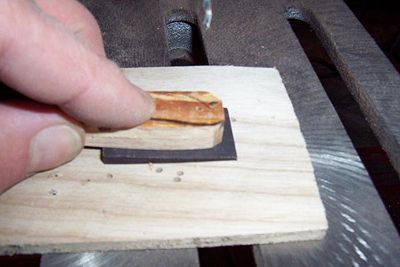
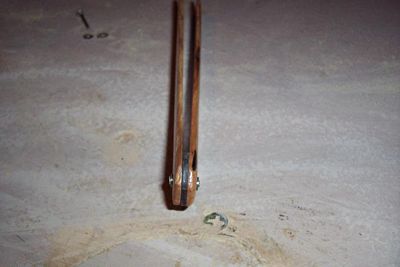
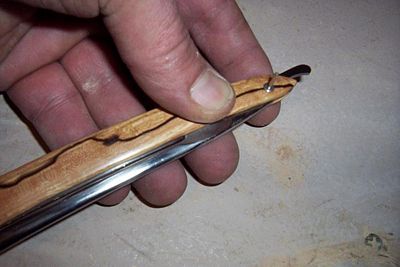
Testing the fit and function here using adjustable pins....
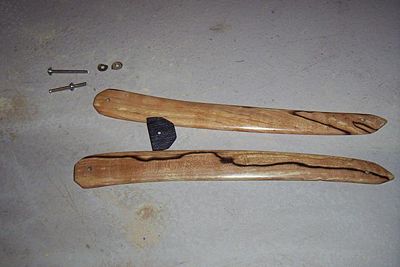
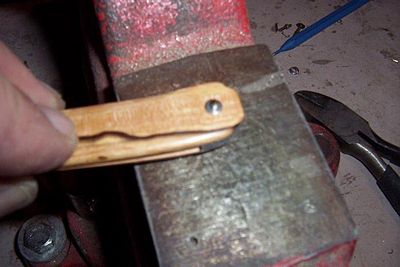
Look close here the wedge is hitting the razor, it needs some more fitting...
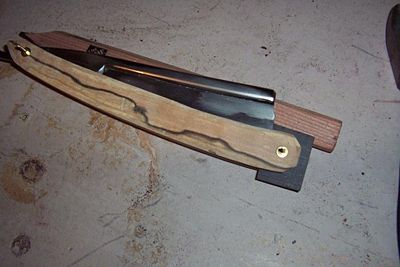
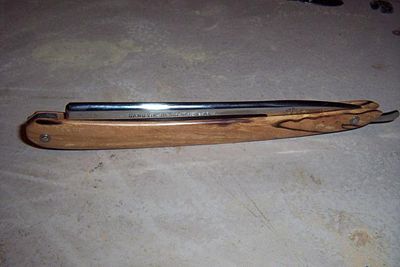
Ahhhhhh there we go about 1/8 inch clearance and everything fits together the right way now....
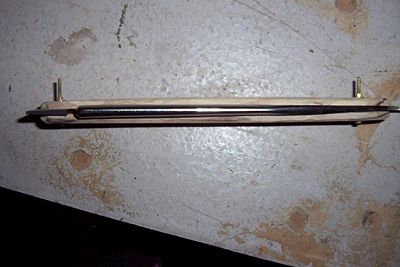
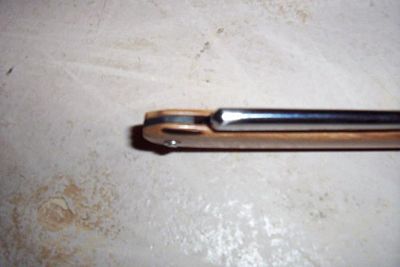
Nice fit
Make sure everything moves right and fits right....
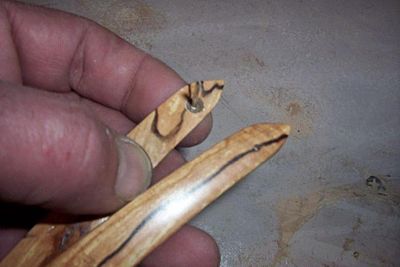
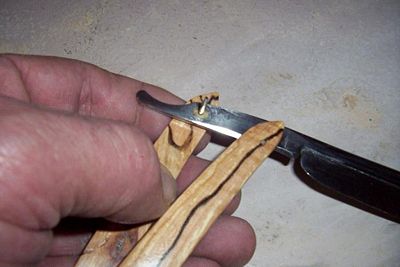
Time to finish the wedge, note the "Mock Up Tang" in the scales now, because I am taking it back to the bench sander to fit the wedge...
Another view
Another view
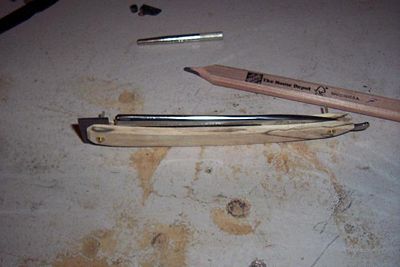
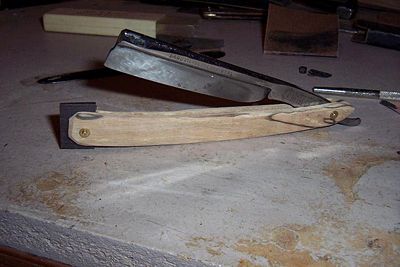
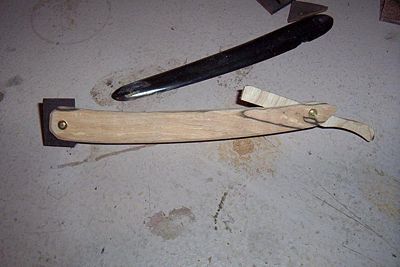
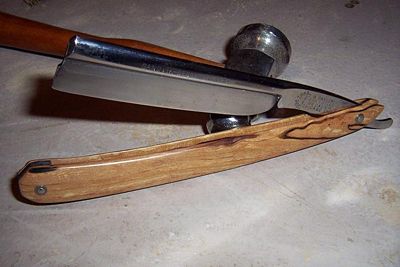
Done and ready to be finished....
The scales are finished and ready to become a complete razor, How and what you use as a finish is totally up to you, try different things to get the look you want... (How I prep the wood is the only part of this, I can't actually share, as parts of it are proprietory to my Rifle Stocks) the wipe on Poly's from minwax are working very well on the razors....
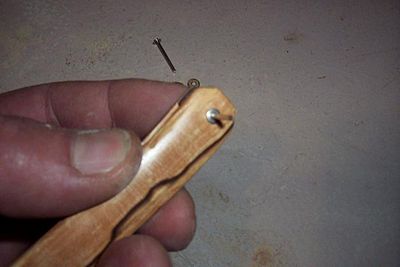
Pins go in from the show side to the reverse side...
I always pin the wedge first then the middle (if applicable) and finally the pivot...
Another angle

Again the pins go in on the show side..
Don't forget the bearing washers if you are using them...
Bearing washer, razor, bearing washer....
Don't mess up now, this is the end of the journey, be extra careful peening the pivot pin, if you leave this pin to long, you stand the risk of a bent pin, to short you have to make a new pin...
The peened pivot pin
Toe end
Another view
A completed razor, some final hand polishing on the blade, then it is ready for the hones......


Q&A[edit | edit source]
Q. Glen, as usual, awesome job! I'd like to know a little more about how you go about doing the wipe-on poly with the inside of the scales and the wedge. Do you coat the entire inside of the scale (once or more)? Do you coat the wedge prior to installation? Do you pin the wedge end and then coat all of it as a unit?
A. First thing I do is 3 coats of finish on the inside, after that really dries, I put two pieces of double side tape on the edge of what ever mailing box is in the room at the time.... I stick the scales to the box where the wedge would go, and then start the process of doing the outside coats with a box to hang unto and the scales securely attached to it.... This is for wipe on finishes....
As you can see this box gets used alot....
For spray on finishes, again I do at least 3 coats on the inside, before I get the outside started.. I made some holders for the scales for spray finishes.. Just a piece of wood and some stiff wire...


As to the wedge end ??? Yes the wedge is coated to as I do the outside, I do 3-5 coats depending on the finish I am using, this is for wood/bone wedges...
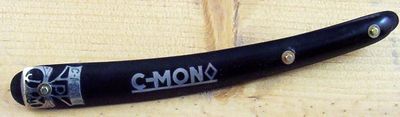
Advanced scale repair[edit | edit source]
Let's look at a slightly more advanced scale repair... Basics being Glue / Epoxy / Acetone / Fiberglass etc. Starting with a set of broken scales for a C-MON, these were actually broken at the pivot so this is my only option for the repair. To make this more difficult these scales have inlays and bolsters.[3]
First I look for an old scale that is close enough in size and curvature to work with... Never, ever, throw away old razor parts. After I find one that is close, I line up the scales and drill out the holes to match.

As you can see adjustable pins from Microfasteners come in very handy... After every thing is lined up and drilled out I sand and file the scales to fit these will need to be polished out also after all the fitting.
Hint: always shine up inlays and bolsters before removing from the old scales it is way easier and safer.
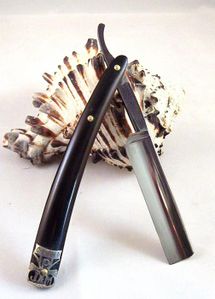
Using an acetone dip I pop loose the old bolsters and re-attach them to the new scale using some Med CA. After re-pinning and some minor fitting the scales are back on and as strong as new.... actually the one is new.


